You have no items in your shopping cart.
REV9 Autosport
 We ship worldwide! Contact us : [email protected]


We're sorry, our system cannot estimate the shipping either due to the quantity of items in cart or the country it's being shipped to!
close
Product Review - Jet Stream Gurney Hood Flap
This entry was posted on April 24, 2024.
Introduction
Jet Stream introduced this item a few years back, showcasing it on a handful of their customer cars. Although it never made it to their catalog as a new release, they've been more than happy to craft it upon request.
The Dilemma
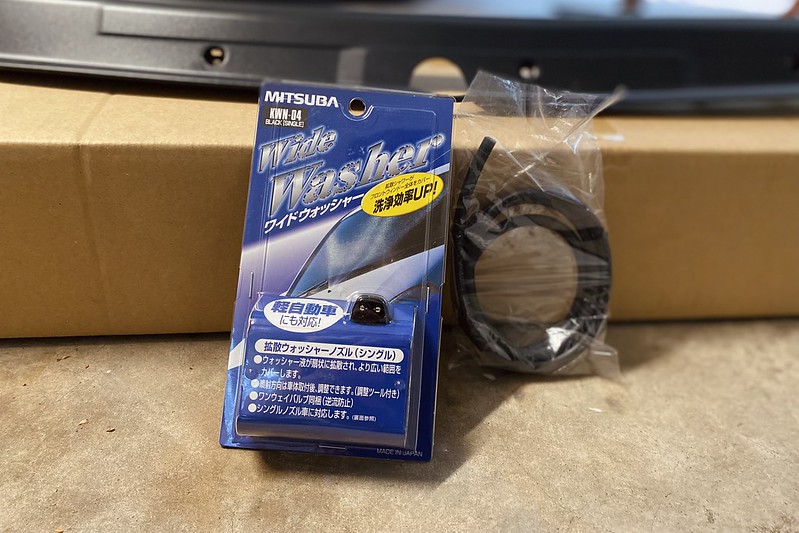
Unfortunately, the gurney flap does block the OEM windshield spray nozzle. So, if you're keen on keeping this feature, you might want to consider opting for a nozzle relocation kit, which is entirely optional.
Installation Process - Nozzle
To install the nozzle, it's necessary to remove the wiper cowl. A separate blog post detailing the steps involved in removing the cowl cover can be found here.
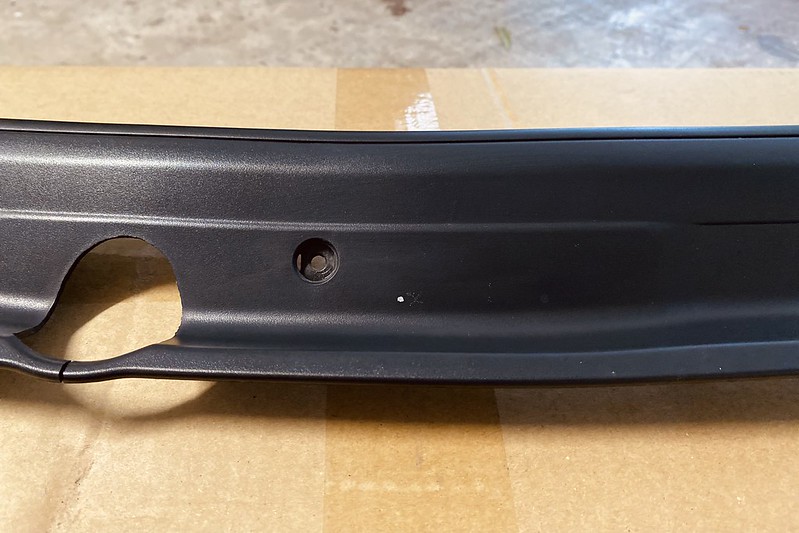
Once the cowl is off, mark the drilling location for the 10mm hole needed for the new nozzle. Using the center screw location of the cowl as a reference, measure 2 inches to the right and then half an inch towards the bottom. However, I chose to position it more centrally, opting for a distance of 1 1/4 inch instead of 2 inches.
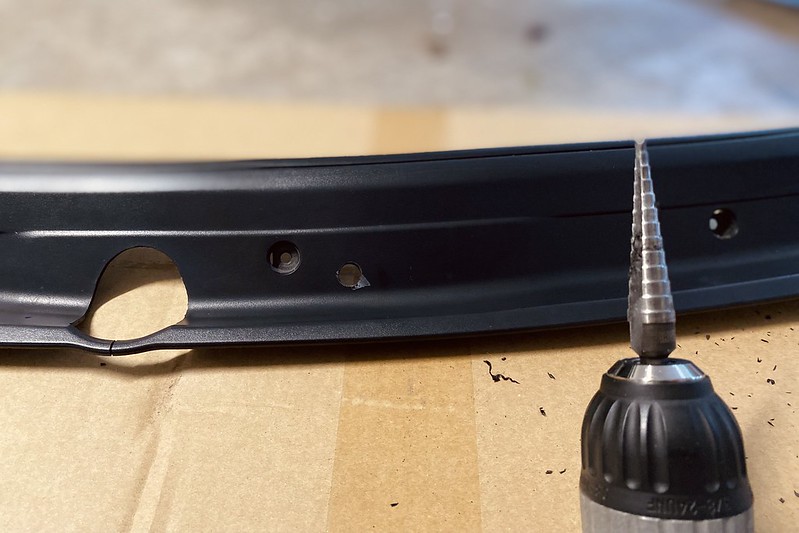
A step drill bit comes in handy for this task.
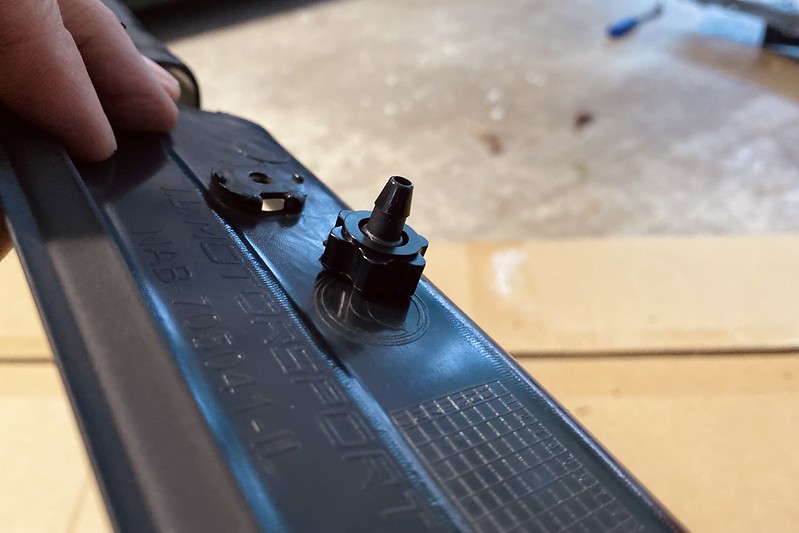
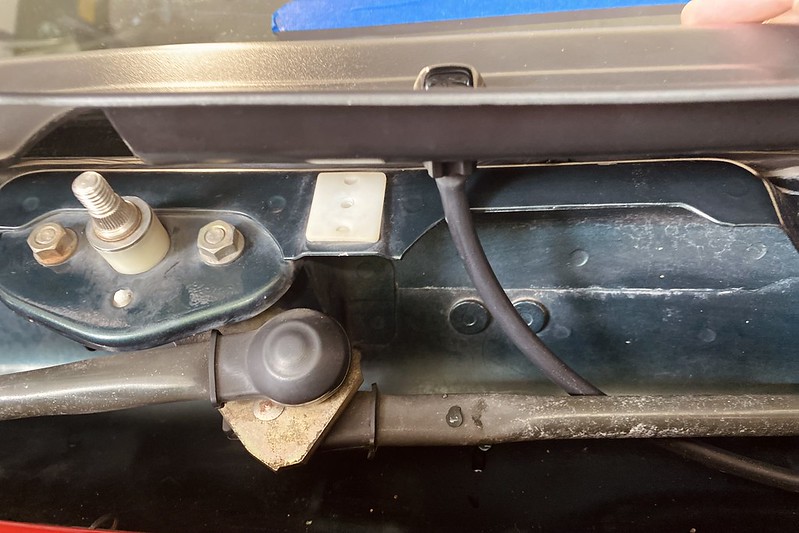
The nozzle simply slips through the hole and is secured in place with a threaded plastic collar.
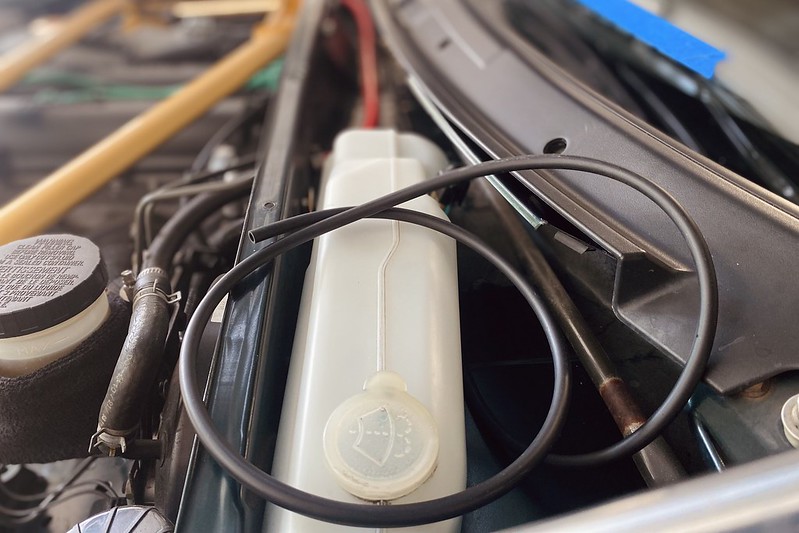
After mocking the cowl back onto the vehicle to ensure there are no clearance issues, proceed to add the rubber hose for the washer fluid. Depending on your setup, like my NB with the NOPRO relocation tank, you might need to adjust the length of the rubber hose accordingly. Just be cautious not to make it too short, risking kinking.
Remember to route the rubber hose behind the wiper arm link. Secure the cowl with the screws.
Installation Process - Gurney Flap
Now, onto the gurney flap. Prep the hood area by wiping it with alcohol to ensure a clean surface.

The item comes with a roll of double-sided adhesive, which you'll apply to the bottom of the flap, ensuring it's evenly spaced from the edge and firmly pressed. I opted for a single strip, but there's enough tape provided if you prefer to add a second.

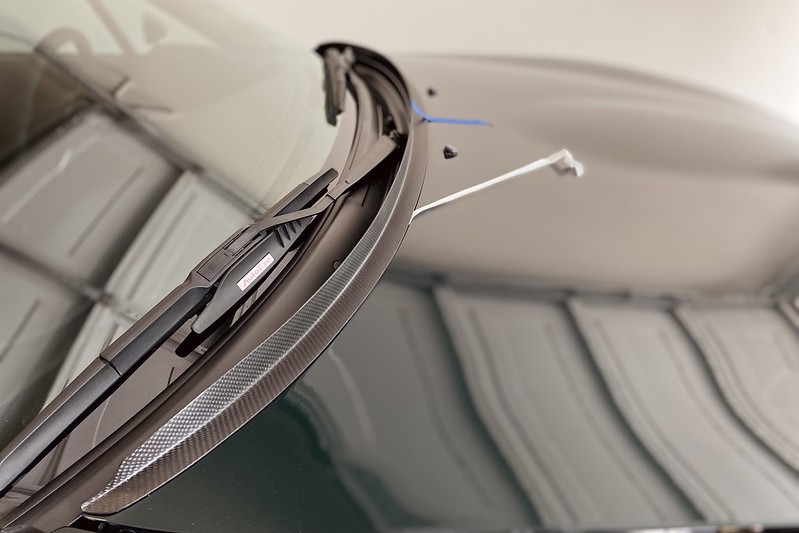
Once aligned perfectly, use masking tape to prevent any shifting during the final glue down. Peel off the tape backing strip while pressing down, working your way down to the other side of the vehicle. And that concludes the installation!
Conclusion
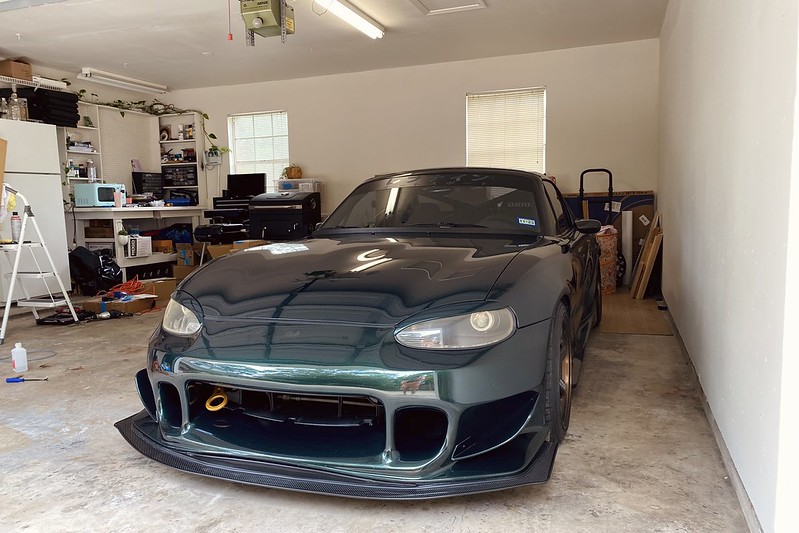
Since fitting this, I've taken the vehicle on a highway run and can confirm the wiper arms remain steady even at speeds over 85mph. Visibility isn't compromised, and it's easy to forget it's there. Plus, I really admire the aesthetic it brings to the car, neatly concealing the majority of the wiper arms from a frontal view.
The nozzle spray performs just as well as those from the hood. In fact, the relocation actually tidies up the engine bay once you remove the OEM hoses for the hood spray nozzles.


Established in 2007, REV9 Autosport has sold highest quality parts to thousands of roadster fanatics over the time. Known as the reference for rare JDM parts, we also offer quality items from USA, UK & Italy.
MY ACCOUNT
CUSTOMER SERVICE
© REV9 Autosport 2007 - 2026
