You have no items in your shopping cart.

 We ship worldwide! Contact us : info@rev9autosport.com
Instructions : Installing Coilovers in a 2016+ ND Miata
This entry was posted on November 6, 2015.
Installation time : around 2 hours plus any necessary adjustment
Installation difficulty : intermediate
Special tools needed : power tools (highly recommended), 10mm/14mm/17mm wrenches
Notes : Please note that you will need to have an alignment done after the suspension install to make sure your tires use evenly. It is not required to do it RIGHT after, but recommended as soon as you can.
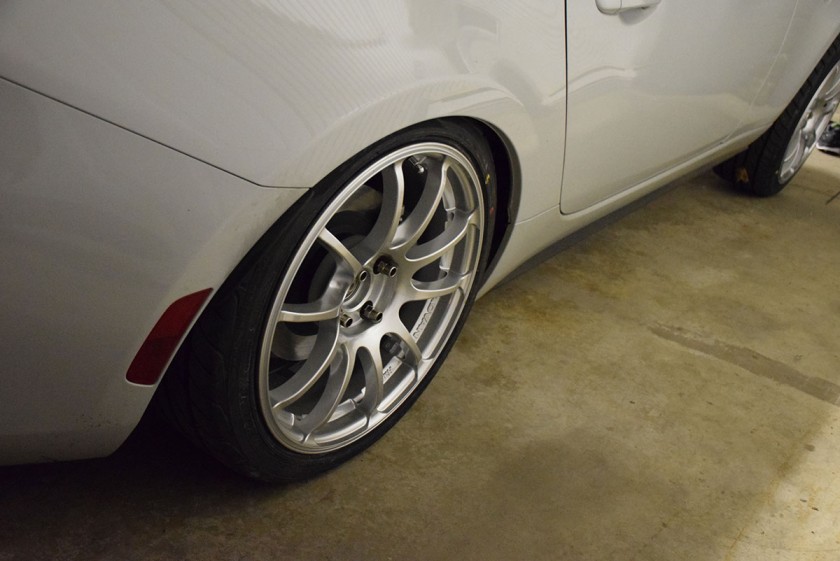
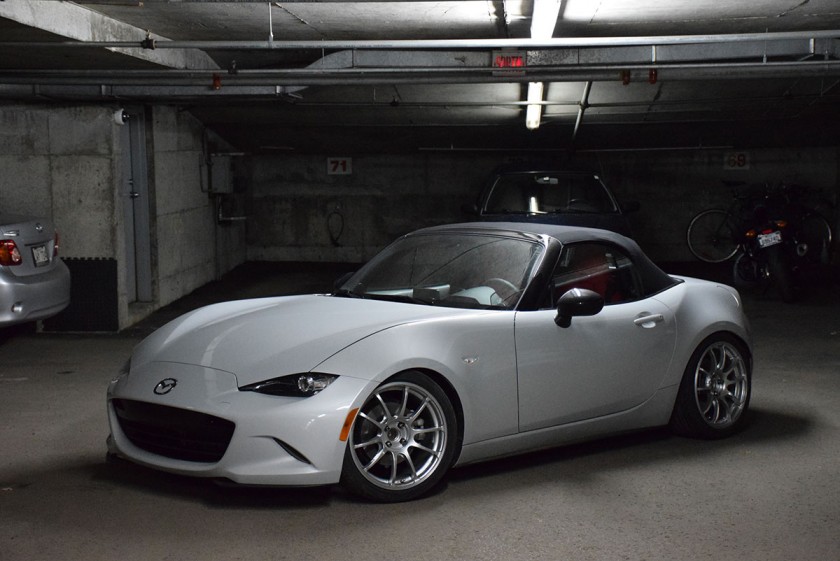
The 2016 MX-5 has quite a bit of wheel gap due to safety regulations and low profile tires. Many people will run it as-is, but a lot of us will want a different look. Changing tires & wheels will definitely improve your car’s look, but without a lowered suspension, it will look goofy (see my coilover review). I wanted to have a more comfortable ride as well as 100% adjustable height, that is why I choose the Cusco Street Zero Coilover System. We also offer PLENTY of other coilover systems as well as springs for the 2016+ ND Miata!
I did not take pictures of the first steps as they are not necessary, but I’ll still explain them. We did not have access to a lift, so we used regular jack to do the whole job.
NEVER forget to set your handbrake when you are doing the suspension work, you wouldn’t want the car to roll down.
We first started by removing the whole trunk interior. It’s super easy, you just need to remove the plastic clips (we used our nails to do it). Spot them and remove the trunk liner. No need to remove the plastic part with the trunk light completely, just remove the plastic clips from it. Then, you’ll see a polished aluminum plate on the driver’s side (left hand drive vehicles), unbolt all the bolts (10mm) holding it remove the polished plate as it’s hiding the suspension top hat.
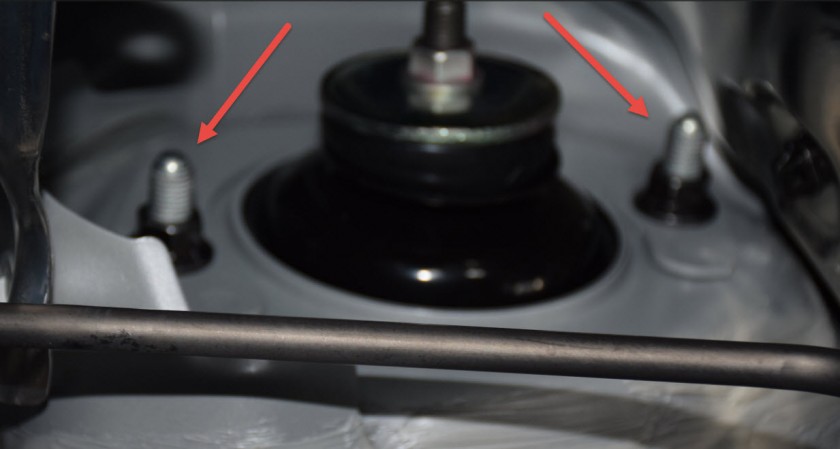
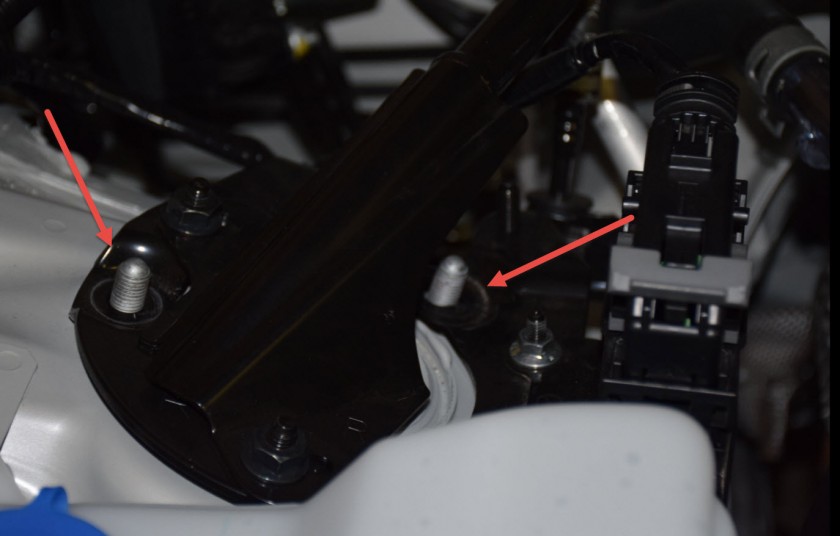
Then, you need to remove the top hat bolts 17mm (2 per suspension), the driver side is a bit more tricky, but overall it’s quite easy to remove. Keep the nuts as you’ll reuse them when installing your coilovers.
Then, you will need to raise your car with a jack. We used our jack with a point in the middle of the car (near the differential) so we could raise both wheels at the same time. You don’t need to raise the car real high, as long as the wheels don’t touch the floor anymore. Next step; remove your rear wheels!
Once the wheels are removed, you’ll see your suspension assembly and the brakes. You need to remove the bolt at the bottom of the suspension (14mm). We suggest using power tools for this one as it’s pretty hard to remove.
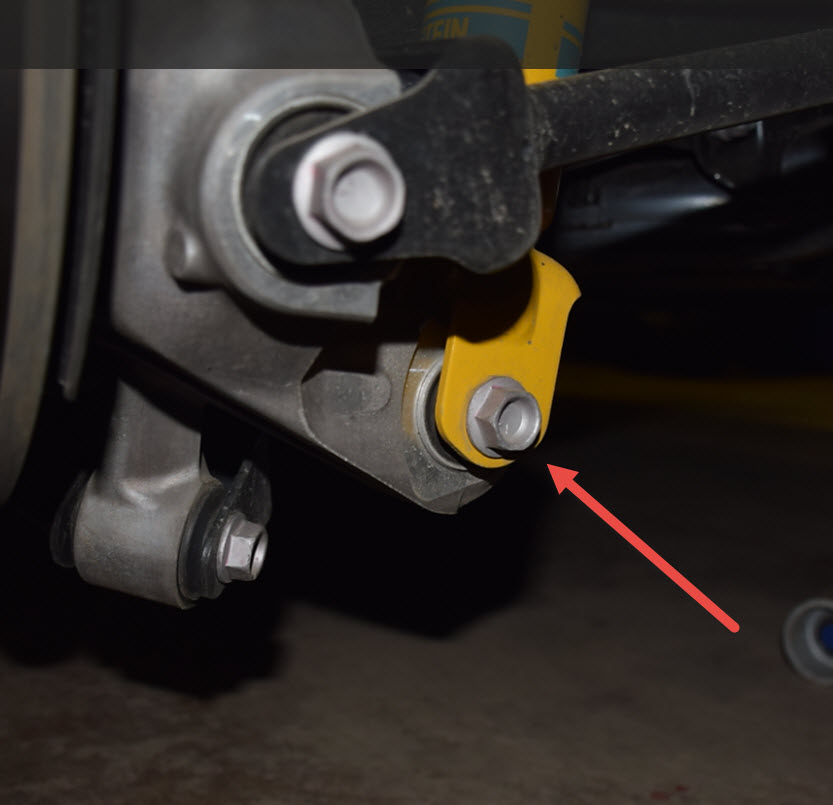
Once this bolt is removed, just pull down the suspension arms, the suspension will move from its top mounting point and you just need to move it from the way, so that it won’t be attached to the car anymore. Do the inverse using your coilover system and bolt back everything firmly (please note that torque specs are usually included in your suspension instructions).
You can put back your rear wheels and check the ride height!
I am not going to go into adjusting your suspension ride height, but best is to install all 4 coilovers, measure your height from factory settings when all 4 wheels are installed and then you re-adjust to your preference.
So, no need to play with suspension adjustment now yet, let’s do the front suspension!
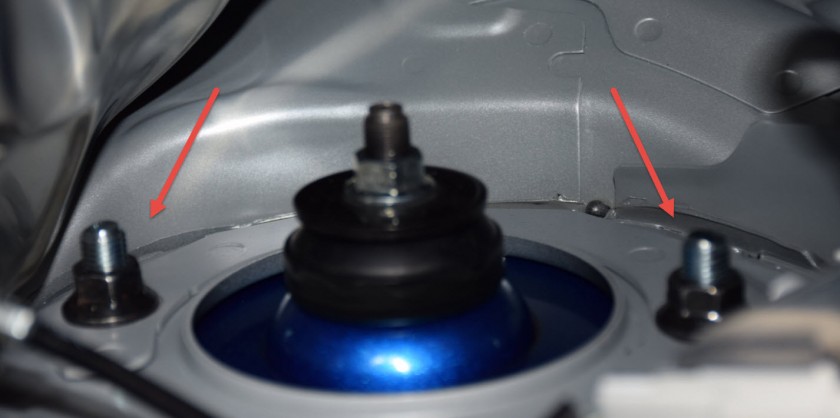
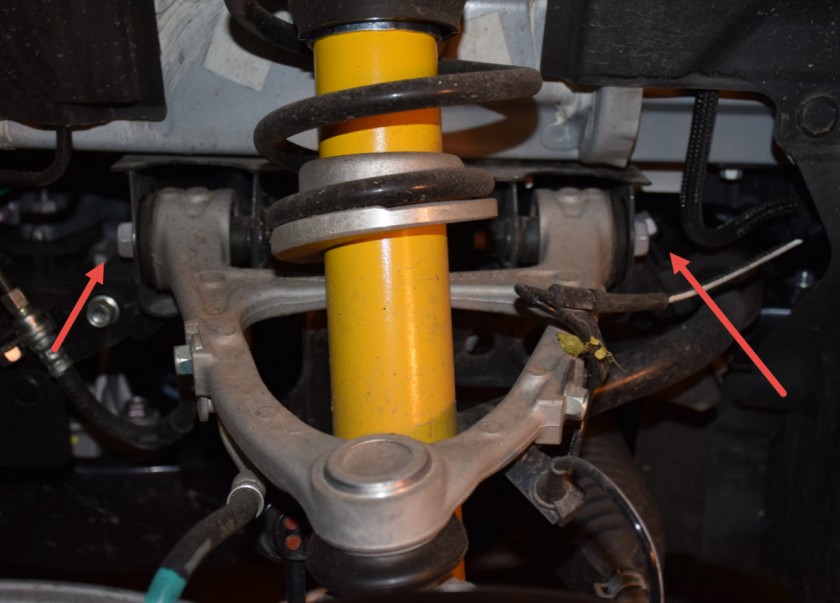
You can now lower the car to the ground. First, let’s open the hood and remove the bolts from the top hats. There are 3 of them per suspension and they are 17mm.
-If you have Mazda OEM Front Strut Bar, it’s a little more difficult to work on, but it is NOT necessary to remove the front strut bar! It’s made so you have access to all bolts using a wrench.
-If you have the intake sound enhancer, we recommend removing it as it’s in the way for the driver side suspension bolts.
Please note that the 3rd bolt is hidden in this picture, it’s right under the strut bar.
So, once your nuts are removed, let’s do the hard part. Since you can’t really jack both wheels at the same time, the front takes a little more time as you need to jack each side.
Jack one side of the car, remove the wheel and remove the same bottom bolt as you did for the suspension.
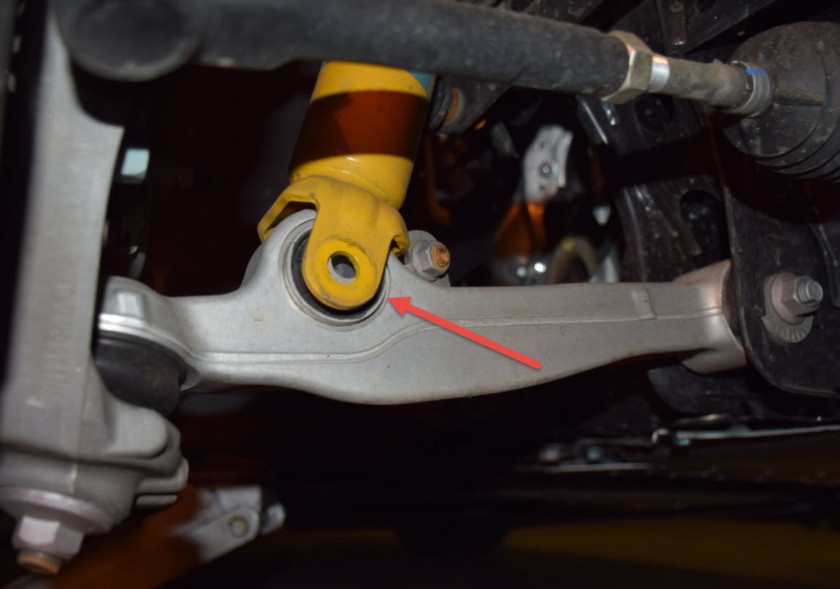
As there is less room to play with the front suspension, you need to remove 2 extra bolts so that you have enough room to move the arms and move the suspension out of the way. If it’s not enough, you might need to disconnect the front sway bar (1 bolt, not pictured, sorry!).
Then, it’s reverse engineering time, you just need to put back your coilover suspension system and bolt everything tightly.
Put back the wheels and check out your ride height. Measure how lower or higher you want to go and adjust your suspension accordingly! I suggest to drive a few miles and test the suspension (sharp turns) before modifying the factory settings as the suspension might “settle” a bit and make the car a bit lower than after the fresh install.
Last step; Enjoy your awesome looking ride!


